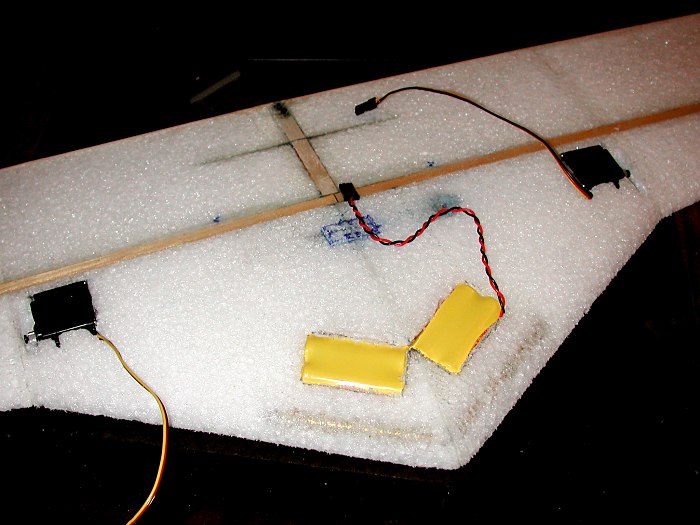
 Pre-fitting the battery and servos. The battery is about as far forward as it can go without intererring with the nose weights. Used a bigger battery which alleviates the need for as much nose weight later. |
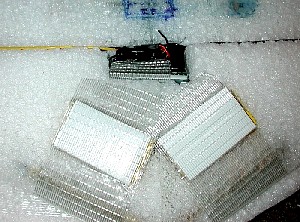 Had some coroplast scraps around, that I put over the batteries. Had to be careful when routing at the battery holes not to go all the way through. |
 FMA Extreme 5 receiver test fit. It looks snug, but the antenna is mashed in there too for the moment. I installed a remote switch off to the right. |
The battery, receiver, switch and servos are all in place and the antenna wire is disappearing off to the left, goes through a hole under the balsa filler and makes a turn around the back of the wing. Masked so I can spray with 3M F77. This is the time to center and install servo arms after spraying and then lay them down flat and install servos. |
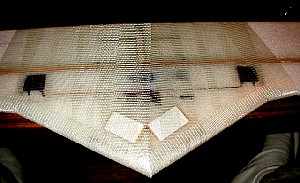 Covered the center section with full runs of double direction fiber tape from back to front over LE and diagonally across the bottom. Some overlap with outer wing sections. Work outside in, and overlap a fair bit. When done, remark the rectangle around the ballast cover so you can see it through the covering.. |
 The tape coming over the LE turned about 45 degrees so I carried it all the way to the back with overlap. The bottom of this sucker is strong. The overlap from the top is important because as you move toward the center it'll end up with less overlap on the bottom because the angle changes as the LE gets thicker.. |
Top covered with strapping tape. Also used 0.66" wide strips to cross brace the outter wing panels for added strength and reduced twist. (2" tape split into 3 is 0.66). |
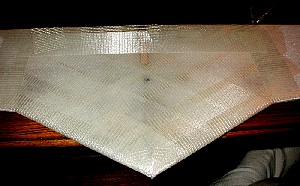
Bottom side with X bracing. Resprayed outter panels with 3M F77 and a light coating over the center section as well. Covered with covering tape and Ultracote. |
The tail boom installed with wires in place. |
Upper tail mounted on the wires. It just sits there and is taped in place. |
Showing how it pulls out. It was so tight I actually put a dab of lithium grease on the rod and now it's still tight, but goes in and out smoothly. |
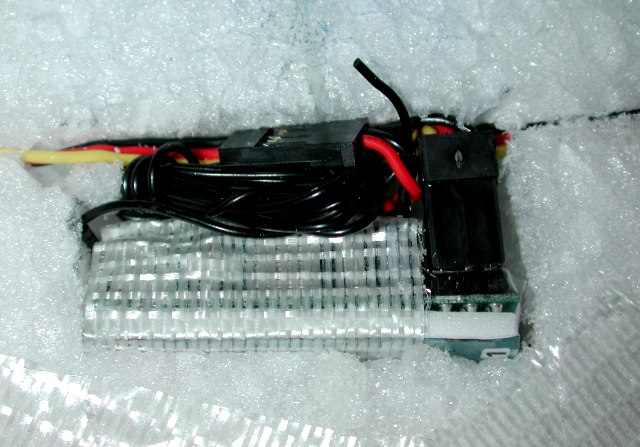
The switch installed a little way from the receiver. This would be a good application for Hollyday charging plug switch. My charging cable is buried in front of the receiver and I just sort of pluck it out of a small slit (hinged covering in front). |