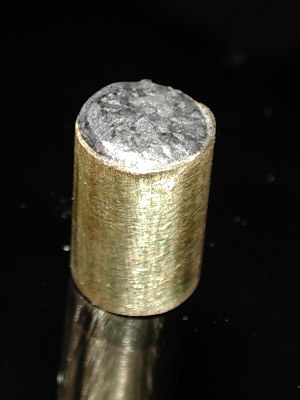
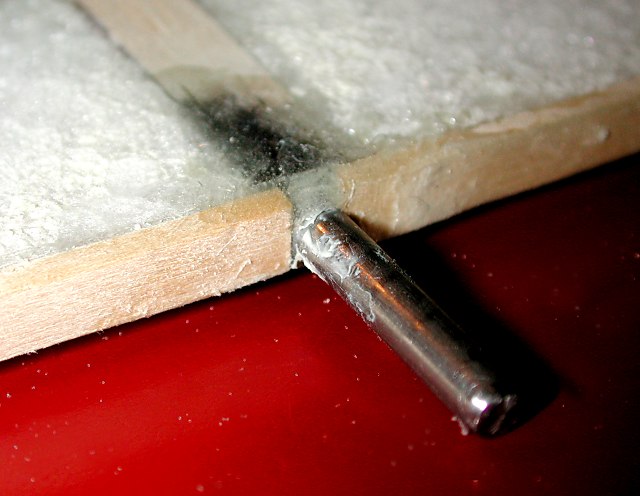
 One of the ballast slugs. 5/8" brass tube filled with melted lead. |
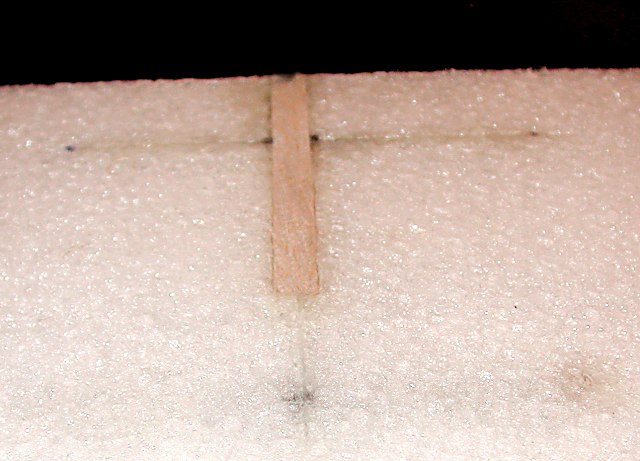
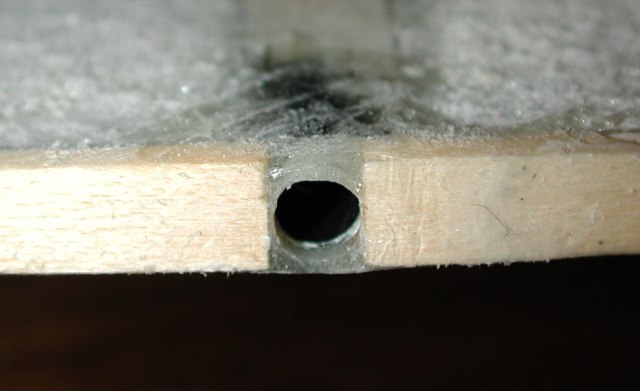
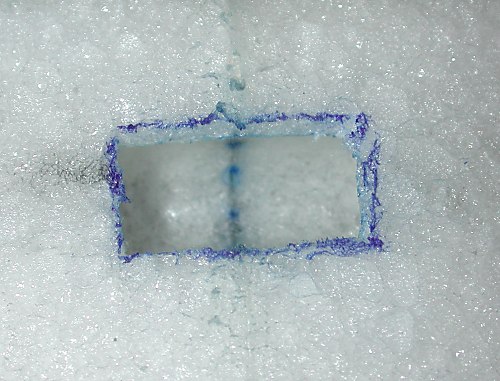 An opening is carefully cut out through the foam down into the ballast tube. Don't lose the cover. Marked around the edges so I'd see it through the covering. |
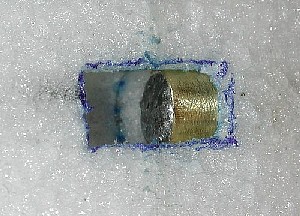 A slug half showing. It disappears all the way down to the end of the tube. Make sure the ballast slides easily in the tube now, because if it's snug now, it'll be very tight when you're done. Room for about three 1 inch slugs. |
 The balsa block is sanded down and we're looking down into the ballast hole. |
 Sanded down on the bottom too |
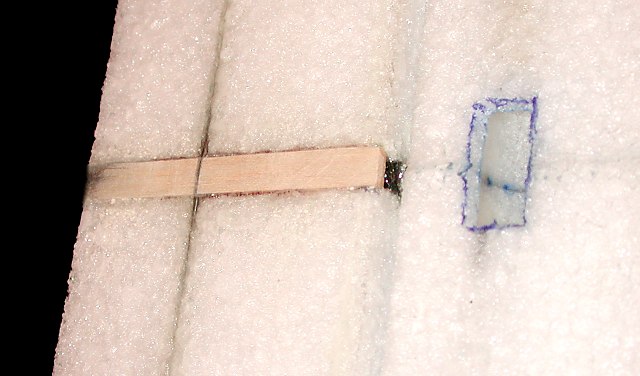
 The ballast area is now filled with foam plugs we cut out earlier to support the cover. Tape is to make it easier to get out. Put the little hatch back in place, and leave it there until the wing is covered. |
 Mask the sides of the spar groove to protect the wing from glue. |
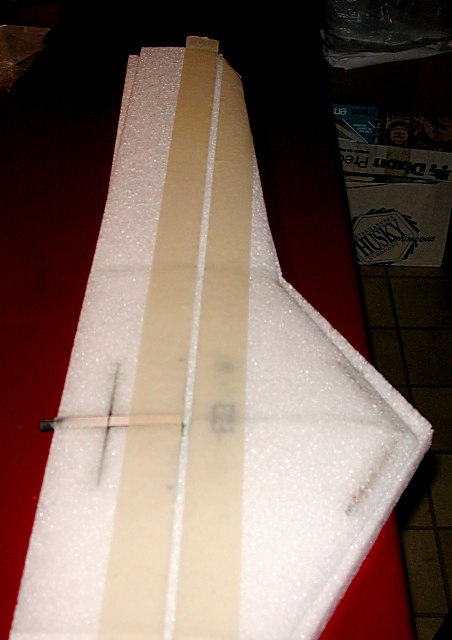
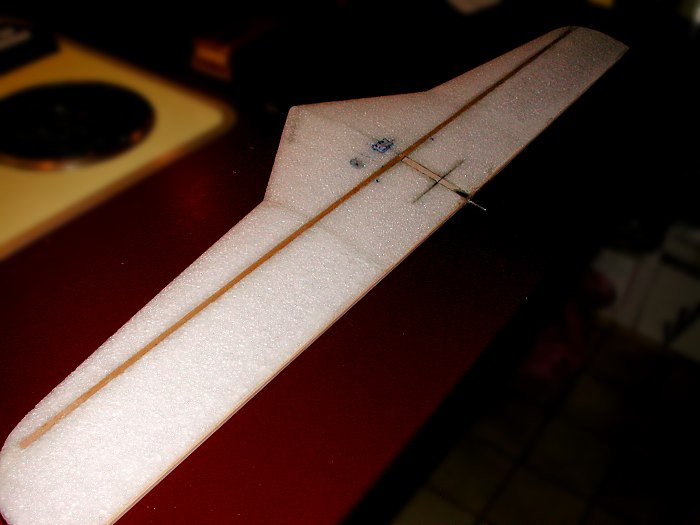
 I expoxied the main spar into the aluminum joiner with slow epoxy, and then gooped the whole spar and balsa strip on top of it. Here it is weighted. (I actually goofed and used the wrong wood for the fillers.. Don't do that. Be sure to use 1/4 x 1/4 x 22" balsa above spar) |
 This is what it'd look like after you've plained/sanded the balsa fillers down flush with the airfoil. (I messed up and used my basswood strips here by mistake and had to fill the groove up in places with more Goop) |
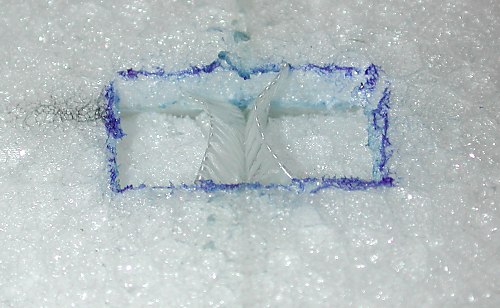
 I actually installed the basswood drag spars by the last photo. Here I put some lithium grease on the supplied rod and then built up 5 minute epoxy around it between the basswood spars. Then pulled the rod out. |
 Everything in place. Spar glued in, filler on top, basswood drag spars installed and everything sanded down. |
 The opening for the tail boom. |