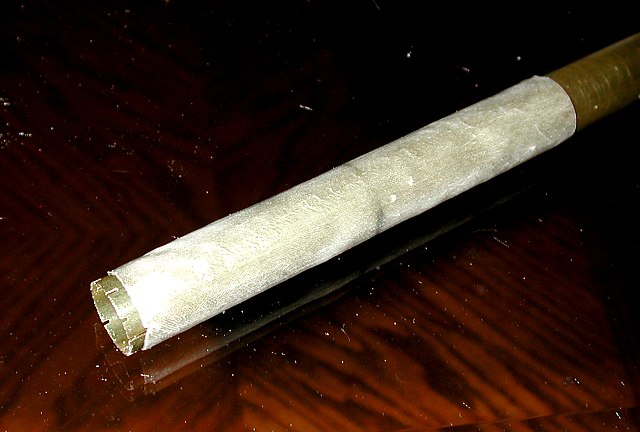
 Ballast tube wrapped around 5/8 brass tube. Made by covering brass tube with 4-5 wraps of wax paper then covering with 3 layers of 3/4 oz glass cloth and slow epoxy. Squished the excess epoxy out. Shown here afterwards. |
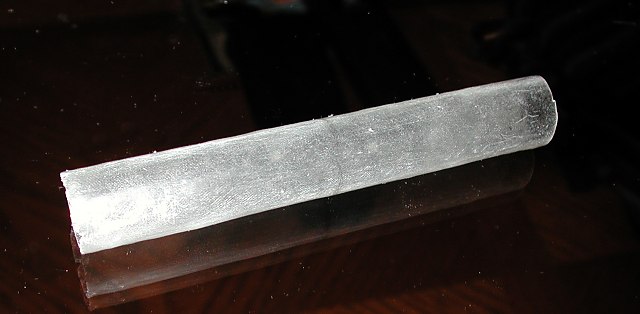 Ballast tube after removing from brass tube, and trimmed at the ends. (Note, for the 56" Bluto I just used the next size up brass tube instead of building it out of glass) |
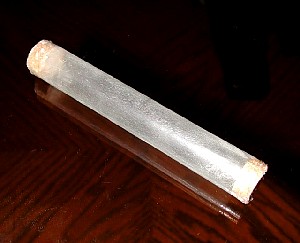 Ends capped with balsa plugs and Gooped in. |
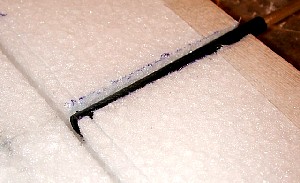
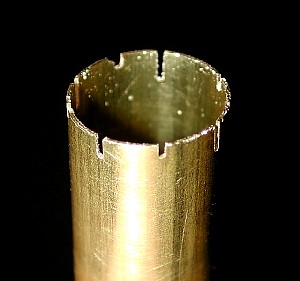 Slots cut in the end of the brass tube for use as a foam drill. |
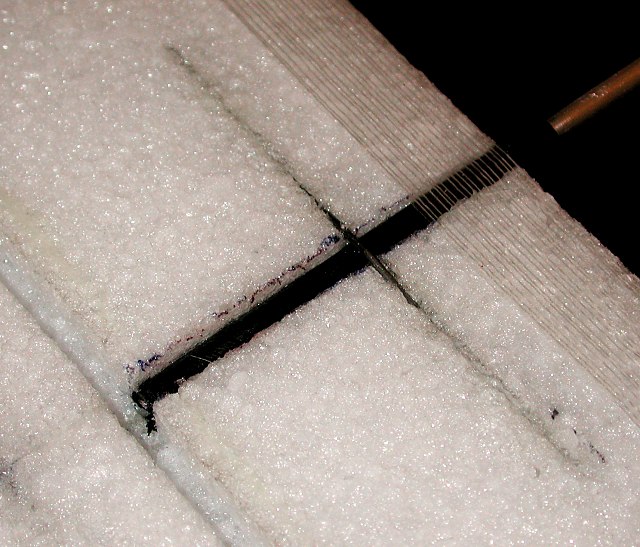
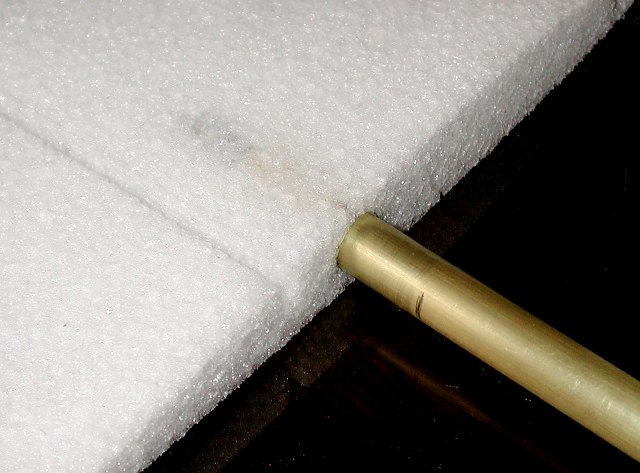 Drilled into the center wing sections at the CG (5 inches from back of drag spar on TE on the 48" Bluto and 6 inches from the back of the drag spar on the 56" Bluto) Make sure to keep it absolutely straight. Use a square and lay the wing flat and support the end of the brass tube to keep the holes lined up. |
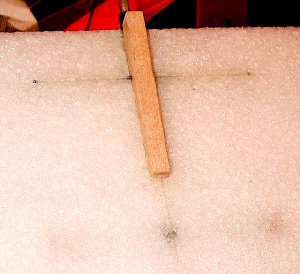
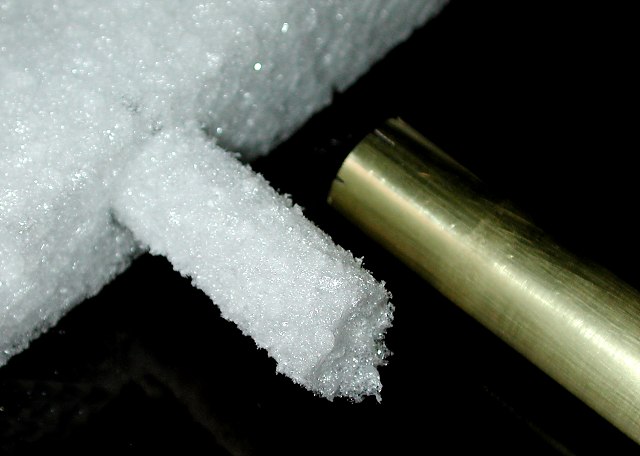 Cut the foam plug out at the other end with a small slit and extracted. |
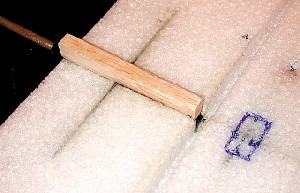
 The ballast tube was test fitted to make sure the wing sections lined up with each other. |
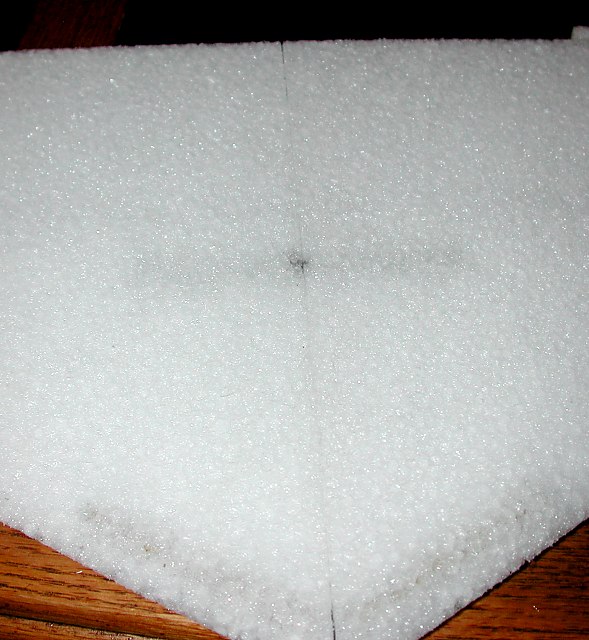 Center wing sections together with ballast tube in place. Pre-mounted nose weights visible at the bottom. |
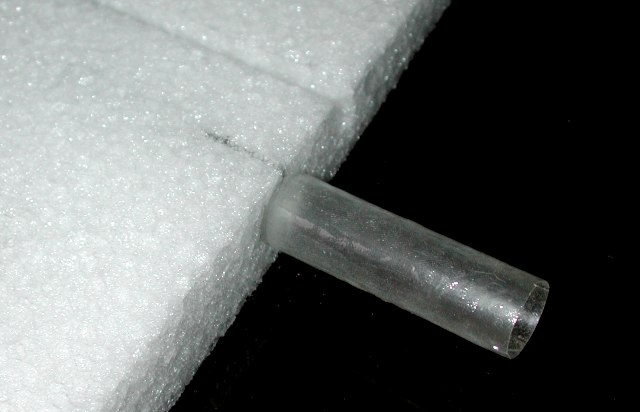
 Slit cut from spar back to TE and poly tube (plastic tube) expoxied into place. Notice fine slit just behind the spar groove. The wire through the front of the poly tube goes in that slit. |
 Another groove cut and the slightly bent wire goes over the tube and down into the slot. |
 The balsa block epoxied into the groove above the poly tube. They will be sanded down. |
 Same thing on the bottom. |